33 Engineering High Clearance Transfer Case Skid Plate
It only takes one trip out to the trails in your Jeep to figure out that the stock transfer case skid plate (aka tcase skid) is Achilles of your Jeep's ground clearance. On a trail with high boulders, lots of steep climbs with quick breakovers, and/or large fallen trees the tcase skid will constantly be dragging/scraping (which really isn't a big deal) or at worst high-centering your Jeep and stranding you.
There are of course several ways to fix this problem, one of which is getting a tcase skid that trims up the "beergut" of your Jeep by raising the tcase up more between the frame rails. There are many tcase skids on the market:
- Teraflex "Belly-Up" Skid plate
- Rubicon Express raised skid
- Nth Degree Mobility's flat skid
- 33 Engineering's High Clearance Skid plate
- Fabricate your own
Now, all of the above skids have good designs and some such as the Rubicon Express skid integrates with their long arm suspension kit which is nice. However, if you're like me once you see the features of the 33 Engineering Skid, you'll find that it is by far the best choice of them all. Now, here's why I think the 33 Eng. skid is the best:
- Smooth bottom skid surface - slides well over obstacles
- 2 piece design allows for tcase fluid change without having to jack up the tranny
- Competitively priced, actually cheaper than any other tcase skid (at time of this writing)
- Gain an additional 2 inches of ground clearance underneath the tcase
- 33 Eng. advertises that this skid works with a Skid Row engine skid plate - I have a Skid Row engine skid and no other tcase skid maker advertises this compatibility.
I installed the 33 Engineering skid in March of 2003. I have since attempted to scrape it up and get hung up on the trails with it, I have been unable to hit it on anything as of yet! I love the 2 piece design for working on my transfer case, and the ability to keep using my engine skid plate from Skid Row. The skid is beefy for its size, yet made as small as possible to maintain a lighter weight piece. I like the side profile view of the Jeep now as it now has a svelt-looking, nearly flat belly when compared to the ugly stock look.
I should stress that on my 2001 TJ with a NV3550 manual tranny and 6cyl. engine the following additional parts were required BEFORE I could install this 33 Eng. skid: rear CV driveshaft, slip-yoke eliminator kit, 1" body lift, 1" raised motor mounts, adjustable upper rear control arms. Without these parts, I would have had damaging driveline vibrations due to a bad pinion angle. Below are my installation pictures, and a few tips/tricks I had to use on this install. You can also download the 33 Eng. instruction manual that I scanned in here.
Parts List
- 33 Engineering High-Clearance Transfer Case Skid plate
- Manufacturer's website: 33 Engineering
- Skid plate Instruction Manual
Tool/Supply List
- SAFETY GLASSES!
- Various length socket extensions
- Socket set
- Socket wrenches
- Combination Wrenches
- Floor Jack
- Jack Stands
- Torch
- May also want: A helper/man-slave, wet rags, air tools.
The Install
The following pictures and notes are pretty much in order, but are by no means the complete step-by-step install.
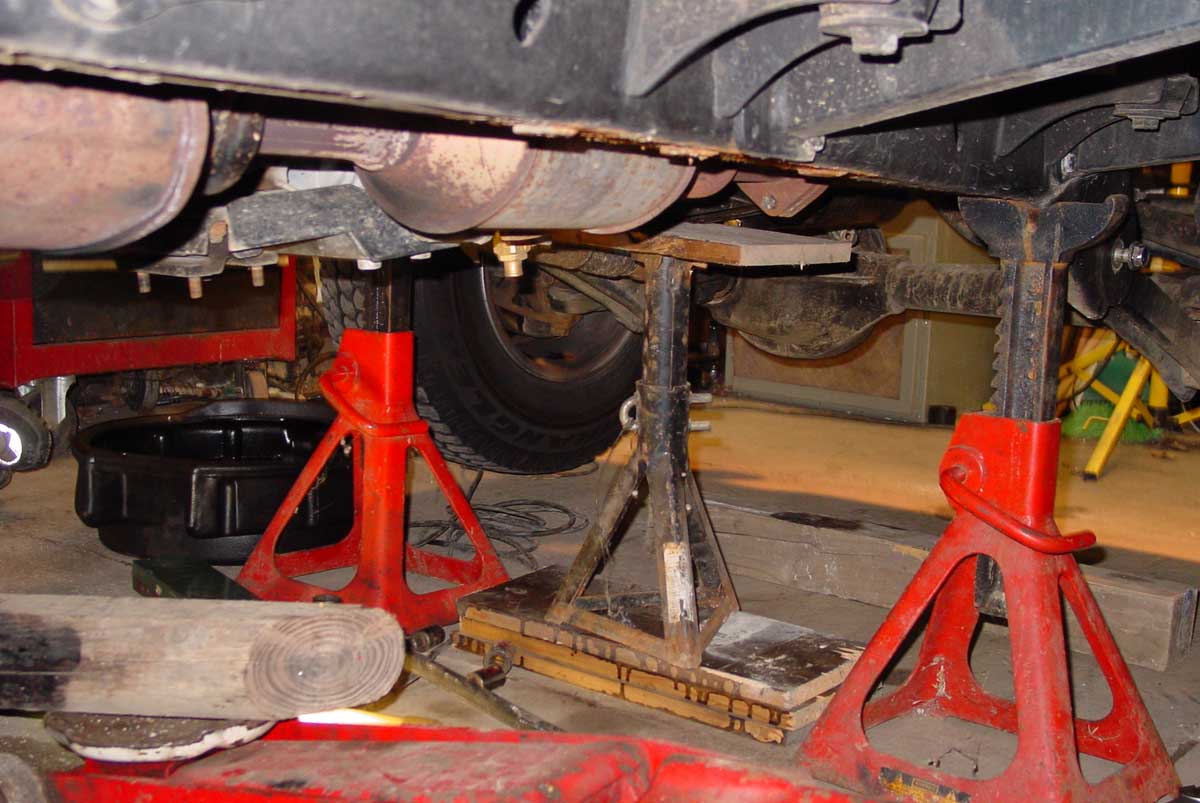
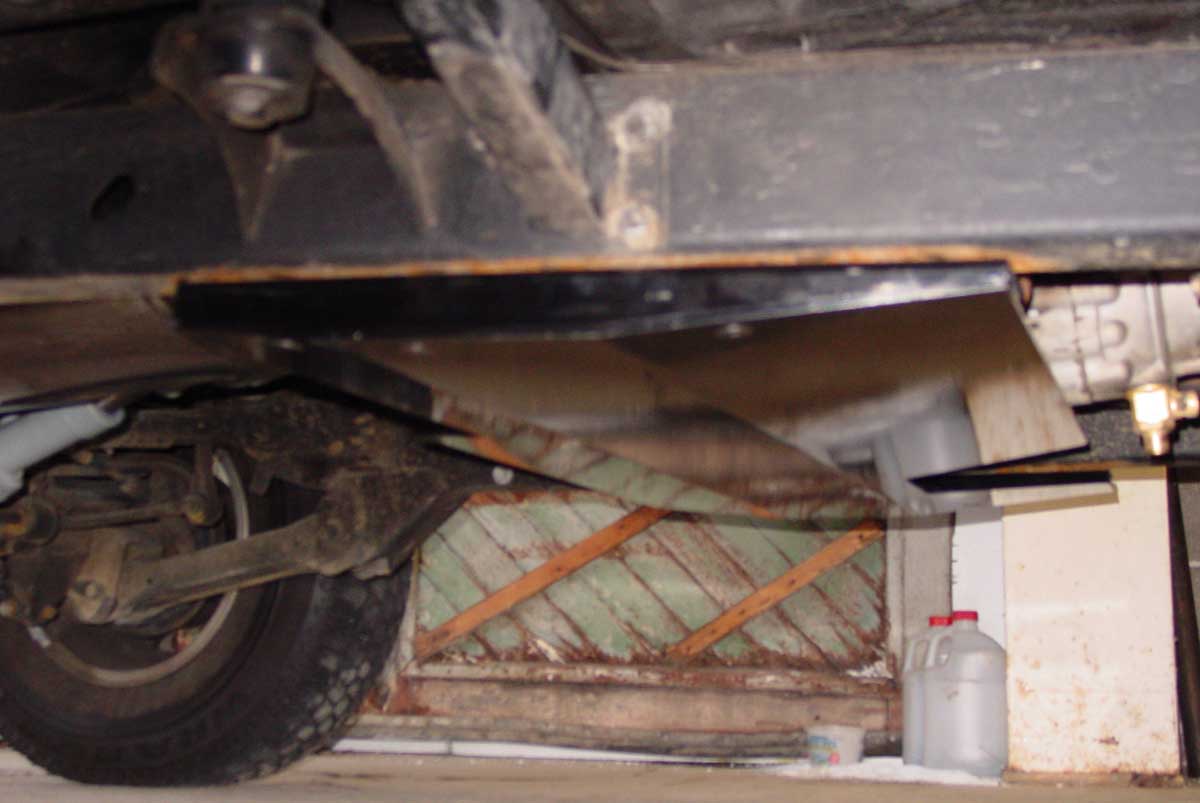
Scene 1
Stock skid plate removed. Transfer case, engine, transmission and Jeep supported on jack stands.
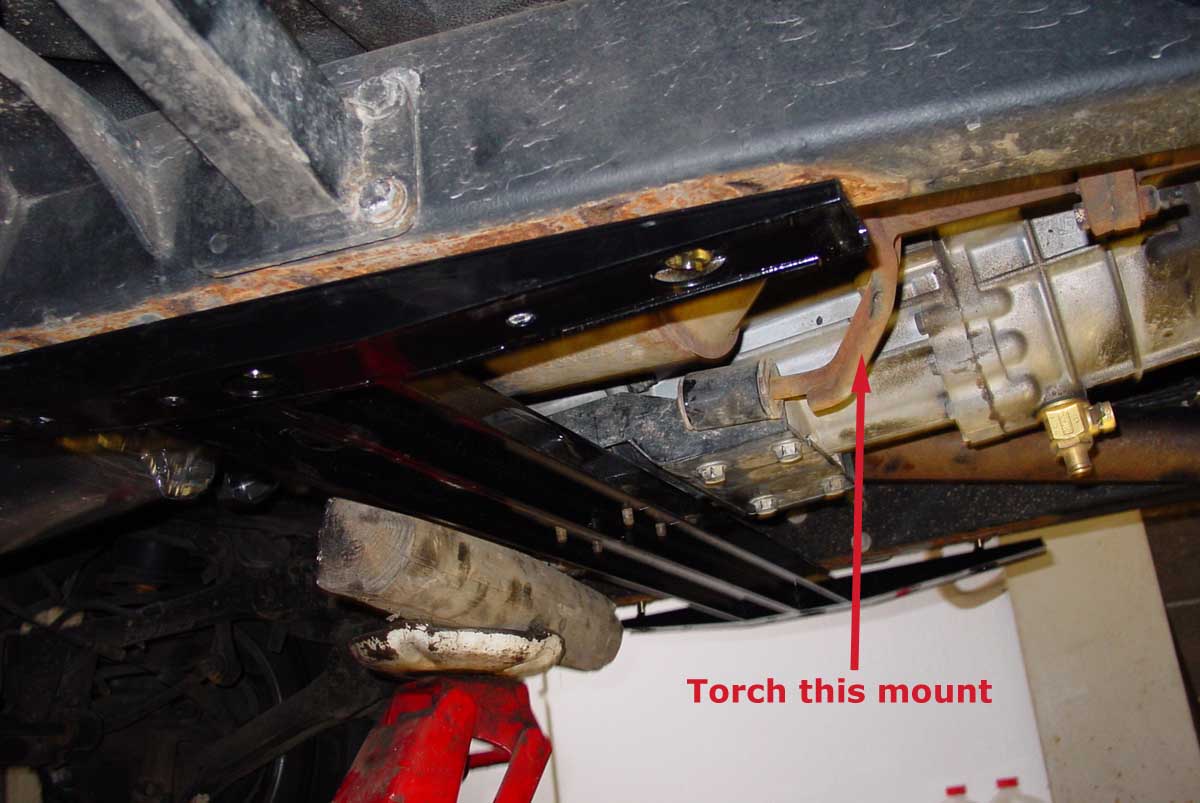
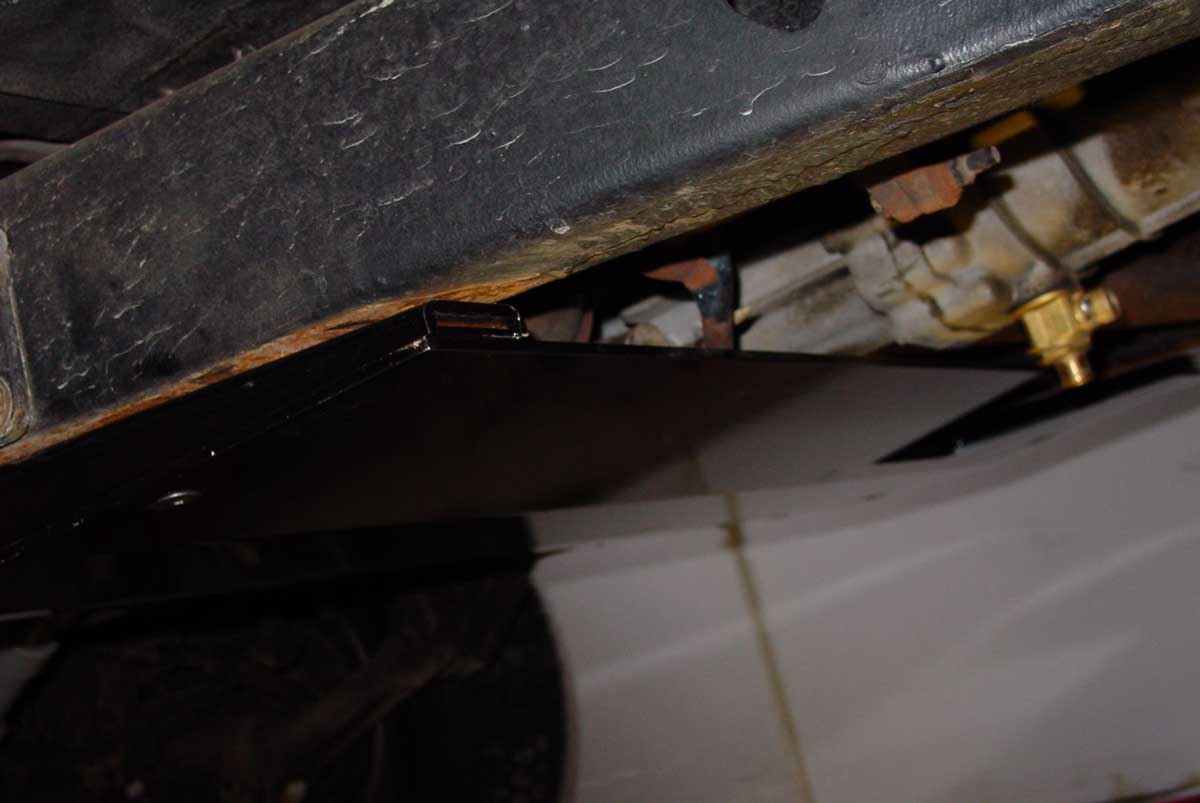
Scene 2
Install the ultra-sweet, super duper 33 Engineering tcase crossmember. More on "Torch this mount" in the next scene.
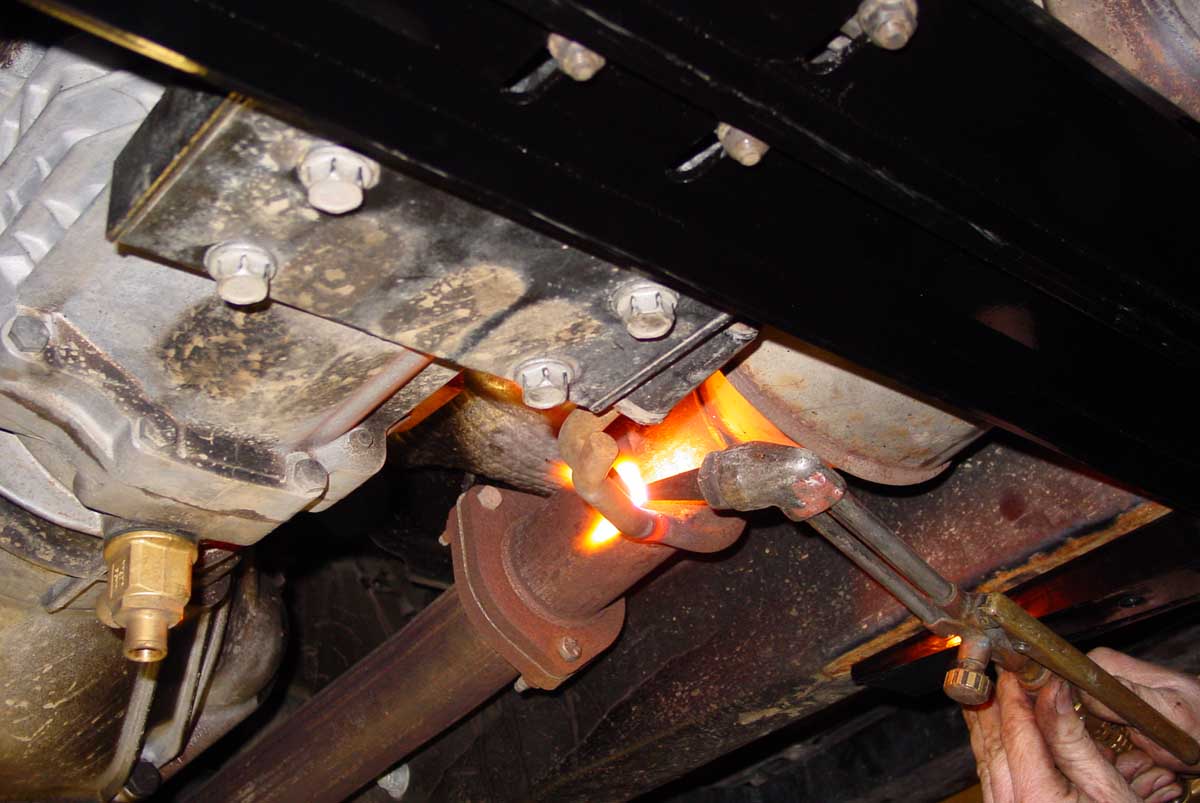
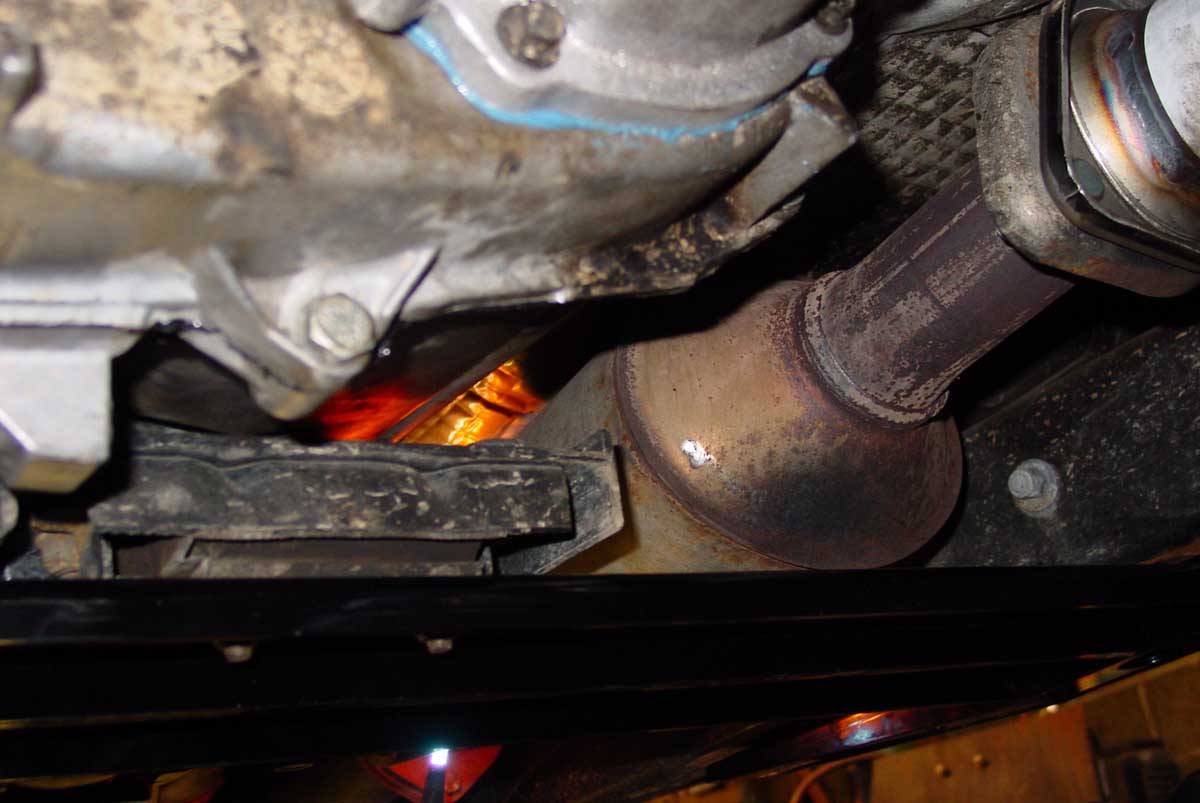
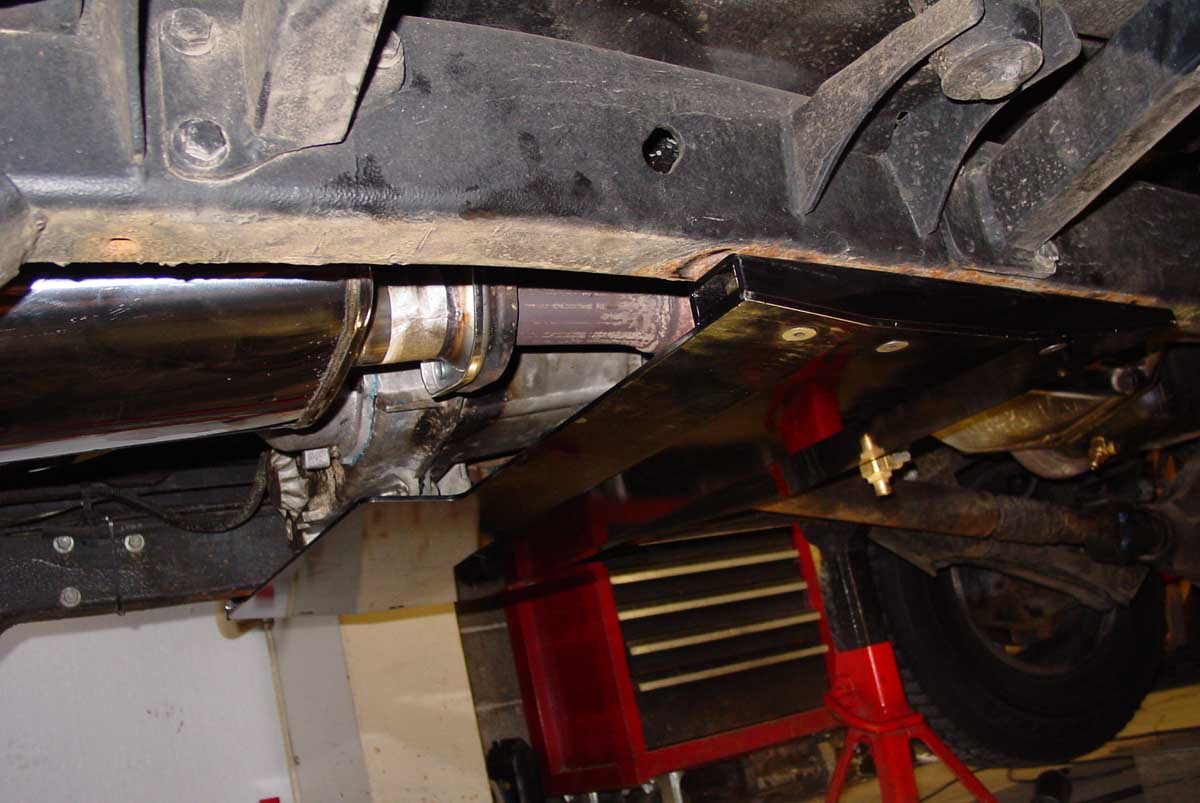
Scene 3
"Torch This Mount" - Once the crossmember was bolted into place and torqued, it was safe to remove the jack stands from under the tranny/tcase/engine. This cleared up more room under the Jeep. I began to admire how high the drivetrain was raised now, it was great!! As I crawled around to check for body floorpan clearance, I found that the muffler was now resting totally against to body floorpan. To remedy this you have to heat up the mount as pointed out in the above picture. This mount is a support for the exhaust pipe that uses the transmission mount as a means to "hang" the exhaust system. The key is to heat up the mount, bend it by hand, and cool it back down before the rubber bushing mount starts burning. This is where a soaking wet rag comes in handy. In the first and second pictures you can see me heating the mount up, in the third picture you can see I'm pulling down on the exhaust system until it clears the body by at least an inch.
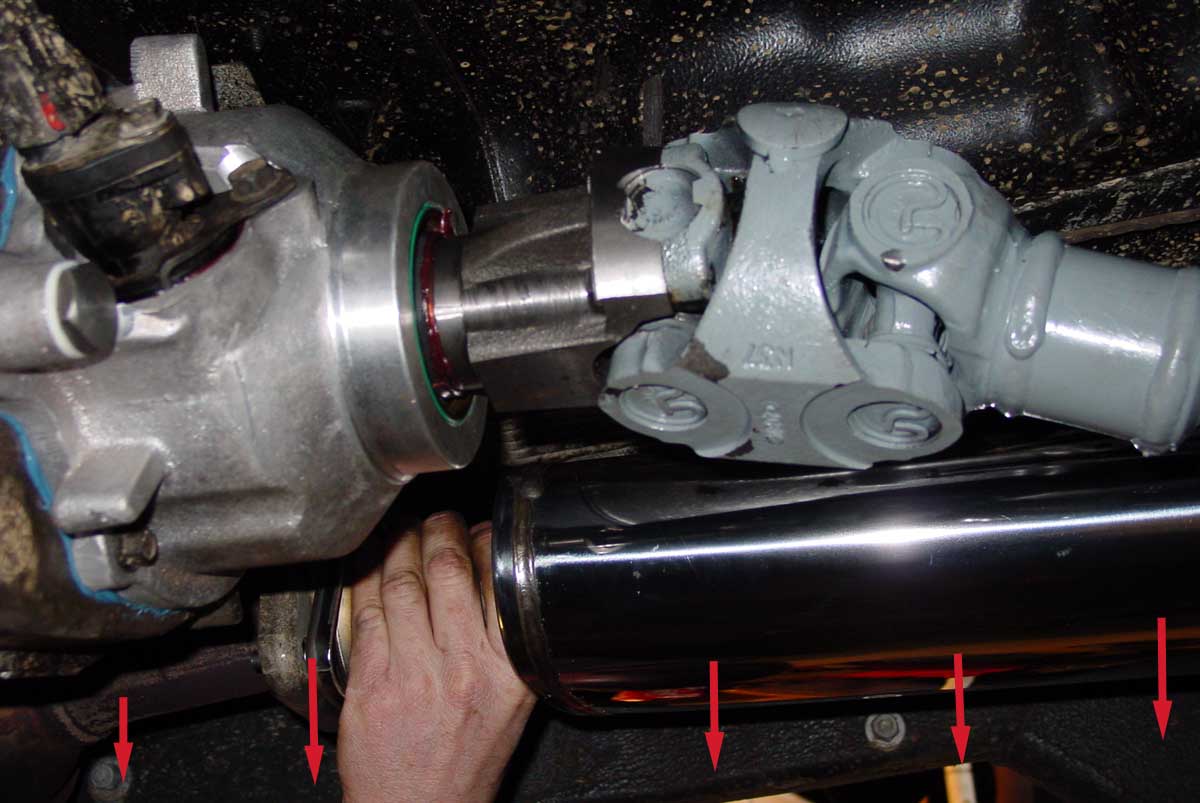
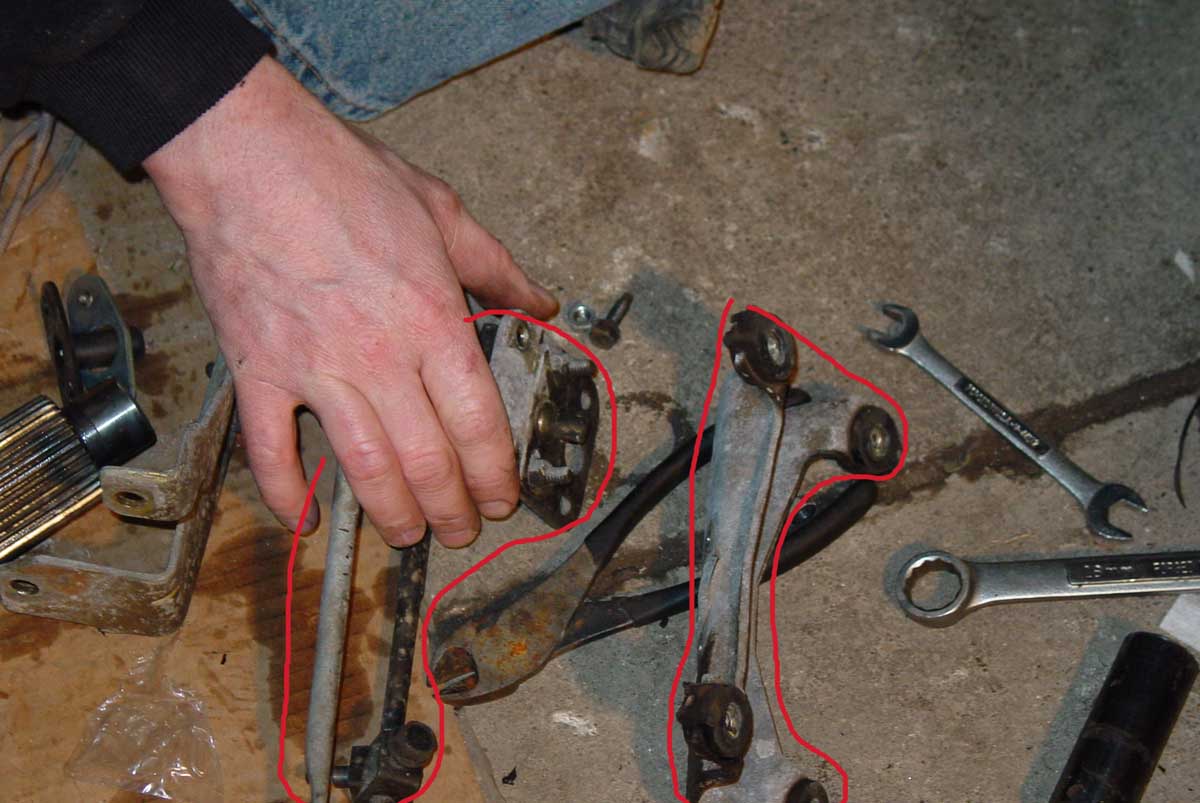
Scene 4
Because of the raised tcase, the shifting linkage may bind and not allow proper mode shifting for the tcase. The tcase shift linkage is circled in red below and can be found on the driver's side between the frame and the tcase/tranny. Make sure to test shift before taking it out for a drive. It does not have to be removed to adjust it, I happened to have it already out since I was doing a tcase rebuild during this install.
The finished installed skid plate
Clearance Measurements
Here's the final clearance from the lowest point of the skid to the floor - 13.0 inches. I didn't get a picture of the before measurement, but I did take that measurement - 11.0 inches. A 2.0 inch increase is great! I rarely ever scrape on the trail anymore thanks to 33 Engineering.

Page created on 9/11/2003
Last updated on 4/27/2004